
How to Build a Bushcraft Tarp Shelter Cheap: A Step-by-Step Survival Guide
If you’re into survival, prepping, or bushcraft, one of the most important skills you can learn is how to build a bushcraft tarp shelter cheap. A tarp shelter is lightweight, versatile, affordable, and can save your life in the wilderness.
Whether you’re a beginner bushcrafter, a prepper preparing for emergencies, or just someone who loves the outdoors, this step-by-step guide will walk you through everything you need to know about building your own budget-friendly bushcraft tarp shelter.
Why a Tarp Shelter is Essential for Survivalists and Preppers
Shelter is one of the three core survival needs—alongside water and fire. According to survival research, humans can only survive 3 hours in harsh environments without shelter (Harvard Medical School, 2018). That means in an emergency, your ability to build quick cover could be the difference between comfort and hypothermia.
A tarp shelter is:
- Lightweight – easy to carry in a backpack.
- Cheap – much less expensive than tents.
- Flexible – can be set up in multiple configurations depending on terrain.
- Durable – good tarps can last years with proper care.
For preppers and bushcrafters, a tarp is one of the most cost-effective survival tools you can own.
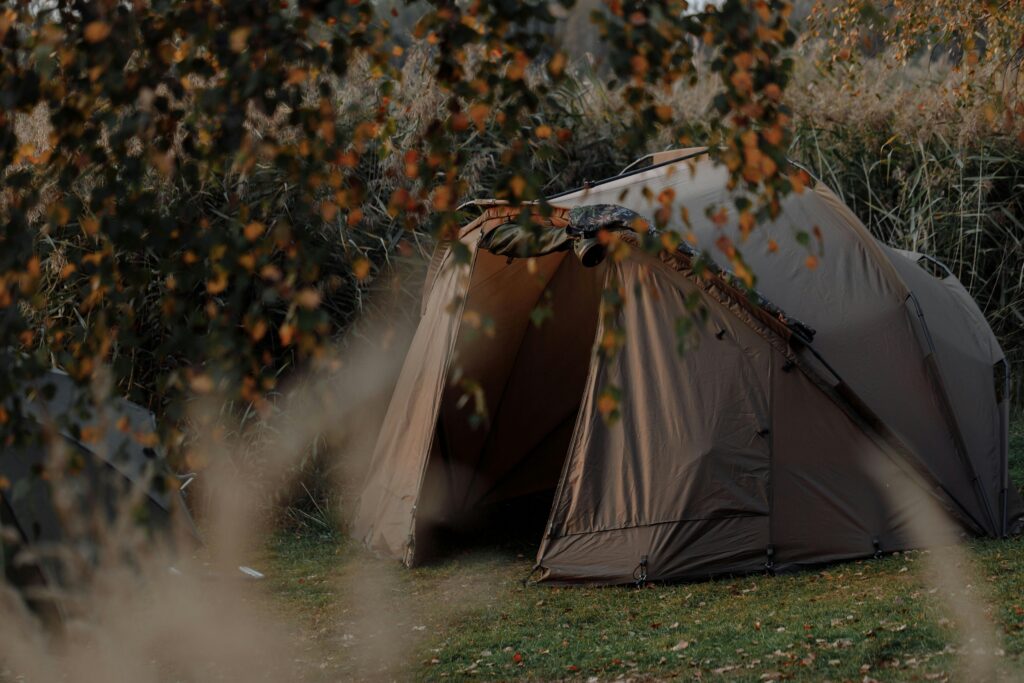
Choosing the Right Tarp for Your Bushcraft Shelter
Before you set up camp, you’ll need the right tarp. The good news? You don’t need to spend a fortune.
Recommended Tarp Features:
- Size: At least 8×10 feet (bigger is better for group shelters).
- Material: Ripstop nylon or polyethylene (PE) for durability and water resistance.
- Grommets/Loops: Reinforced edges make setup easier.
- Color: Green, brown, or camouflage for blending into nature.
💡 Budget Tip: A simple hardware store tarp can work just fine. Many survivalists use a $10–$15 tarp that lasts for years.
Essential Gear You’ll Need
Along with your tarp, here’s a list of gear you should always pack:
- Paracord (50–100 feet) – strong, lightweight rope.
- Tent stakes or wooden pegs – to secure corners.
- Knife or multitool – for cutting cordage.
- Walking stick or trekking poles – optional but useful as supports.
Most preppers already carry these in their bug-out bags or bushcraft kits.
Survival Benefits of a Tarp Shelter (Backed by Research)
- Faster Setup = Safer Survival: Research confirms speed of shelter construction is critical in emergencies (Journal of Emergency Management, 2018).
- Weather Protection: High waterproof ratings (5,000–20,000 mm) ensure tarps outperform makeshift shelters in storms (SurvivalStoic).
- Energy Conservation: A tarp shelter requires less energy and tools to set up than building debris shelters—crucial for survival stamina.
Step-by-Step: How to Build a Bushcraft Tarp Shelter Cheap
Now let’s get practical. Here’s how to set up a reliable, low-cost tarp shelter:
1. Pick the Right Location
- Look for flat, dry ground.
- Avoid areas near rivers that may flood.
- Check above for dead branches (“widowmakers”) that could fall.
2. String a Ridgeline
- Tie your paracord between two trees about chest height.
- This will be the backbone of your shelter.
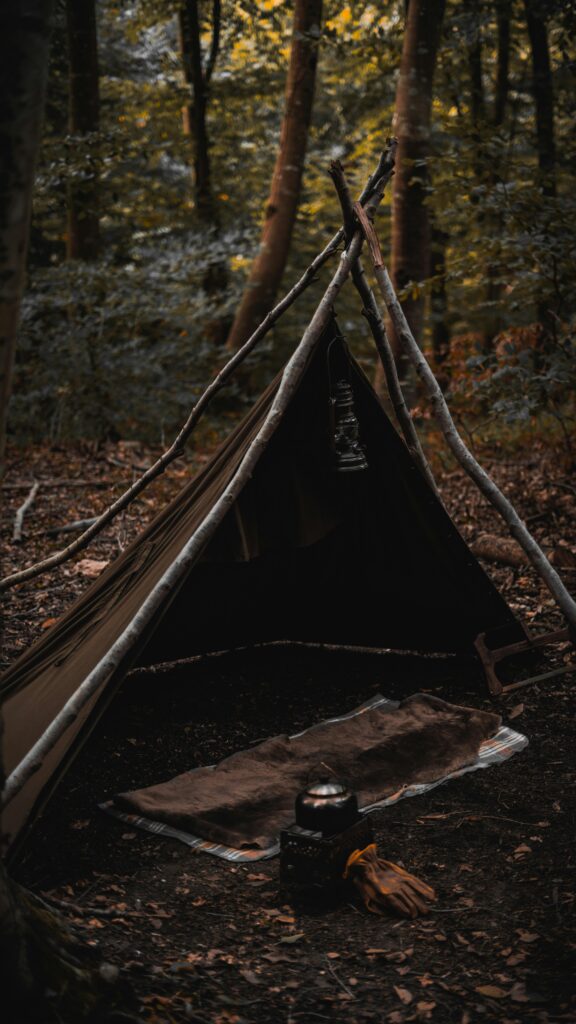
3. Drape Your Tarp Over the Ridgeline
- Center the tarp so both sides hang evenly.
- Adjust tension so it’s snug but not tearing at grommets.
4. Secure the Corners
- Stake each corner to the ground at a 45° angle.
- For rocky ground, use logs or heavy stones instead of stakes.
5. Adjust for Weather
- Rain: Steepen the angle so water runs off.
- Wind: Pitch one side lower for extra protection.
- Snow: Build walls of branches or snow for insulation.
And just like that—you’ve got a strong, weather-resistant shelter in under 15 minutes.
Alternative Tarp Shelter Setups
As you gain more experience, try these variations:
- Lean-to Shelter – simple, great for fire-facing warmth.
- A-frame Shelter – balanced protection, good for rain.
- Diamond Fly – open design with excellent airflow.
Each style can be built cheaply and quickly with the same tarp and cordage.
Pro Tips for Preppers and Bushcrafters
- Always carry extra paracord—you’ll use more than you think.
- Practice setting up shelters at home before you need them.
- In cold weather, pitch your shelter near a fire but not too close (avoid melting tarp).
- Use natural resources—fallen logs, rocks, and branches—for extra support.
| Aspect | Budget Poly Tarp | PU-Coated Nylon (Aqua Quest) | Silnylon/Silpoly |
|---|---|---|---|
| Price | Very low ($9) | Mid-priced (higher cost) | Moderate |
| Waterproof Rating | Standard | 5,000–20,000 mm | Good |
| Weight & Packability | Light but bulkier | Moderate | Ultra-light, highly packable |
| Durability | Basic | High | Moderate |
| DIY Flexibility | Good | Excellent | Excellent |
Final Thoughts
Learning how to build a bushcraft tarp shelter cheap is one of the most valuable survival skills you can master. It doesn’t require fancy gear or a big budget—just a tarp, some paracord, and a little know-how.
For survivalists, preppers, and beginner bushcrafters, a tarp shelter is a reliable, low-cost solution that can keep you safe, warm, and protected in the outdoors.
The next time you head out into the wild—or prepare your emergency kit—make sure a tarp is packed. It’s small, affordable, and could be your best defense against the elements.
ALSO READ :Urban Prepping Food Storage: 7 Smart Strategies for Long-Term Survival