The cheapest way to start prepping is not by buying expensive survival gear—it’s by using what you already have and building gradually.Prepping doesn’t have to drain your wallet. Many beginners make the mistake of thinking survival means buying expensive bug-out bags, tactical gear, or years’ worth of freeze-dried food. The truth is: you can start prepping cheaply by focusing on skills, planning, and essentials you already own.
In this guide, you’ll learn:
- The cheapest way to start prepping step by step
- How to build affordable food and water storage
- Budget-friendly gear alternatives (and what NOT to waste money on)
- Why skills are more valuable than expensive tools
- Practical advice for beginners who want to prep smart without overspending
By the end, you’ll know how to create a realistic, cost-effective prepping plan that prepares your family for emergencies without maxing out your credit card.
Why Prepping Doesn’t Need to Be Expensive
A common myth is that prepping requires a huge investment. The reality? Many survival situations rely more on resourcefulness than gear. For example, according to the CDC’s emergency preparedness guidelines, every household should start with just three days of food, water, and basic supplies—something achievable for under $100 if done smartly (.
Instead of focusing on buying everything at once, start small, prioritize essentials, and build gradually.
Step 1: Start with What You Already Have
Look around your home—you likely already own survival basics.
- Blankets → can serve as emergency insulation
- Kitchen supplies → knives, pots, can openers
- Hygiene items → soap, toothpaste, sanitizers
- Old backpacks → can double as bug-out bags
Budget tip: Make an inventory list before buying anything. Many “prepping checklists” online push expensive gear, but chances are you already have 30–40% of what you need.
Step 2: Focus on Food Storage Without Breaking the Bank
Food is the most common concern for beginner preppers. Instead of overpriced freeze-dried meals, start with everyday groceries:
- Rice, beans, pasta, oats → cheap, long shelf-life, calorie-dense
- Canned goods → vegetables, tuna, soups (often $1–$2 per can)
- Peanut butter, honey, powdered milk → high energy, long-lasting
A family of four can begin a two-week food stockpile for under $200 by buying in bulk at warehouse stores or using discount coupons.
For safe storage, follow USDA and FDA guidelines on food safety.
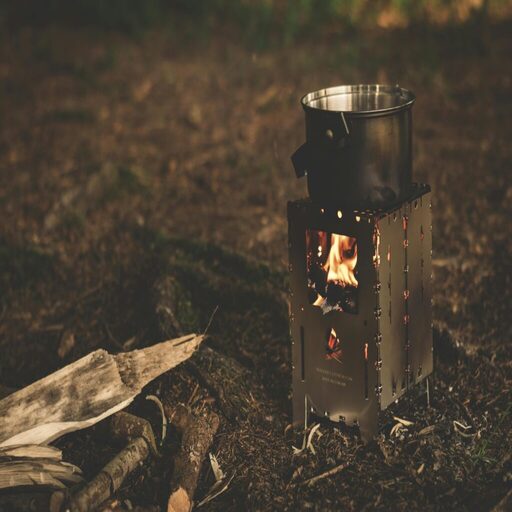
Step 3: Water – The Most Affordable Prep
You don’t need to spend hundreds on high-end filters right away. Start with:
- Storing tap water in reused soda bottles or jugs (clean thoroughly first).
- Buying a $20–$30 water filter straw for emergencies.
- Learning basic purification methods (boiling, bleach drops).
According to FEMA, households should store 1 gallon per person per day for at least 3 days.
Step 4: Budget-Friendly Gear – What to Buy and What to Avoid
It’s easy to waste money on “tactical” gear that looks cool but isn’t necessary. Instead, prioritize:
Must-haves:
- Flashlights (buy LED)
- Power banks
- First aid kit
- Multi-tool
- Sturdy shoes and clothing (already in your closet)
Skip for now:
- High-end night vision goggles
- Fancy bug-out vehicles
- Overpriced survival knives (a $20 one works fine)
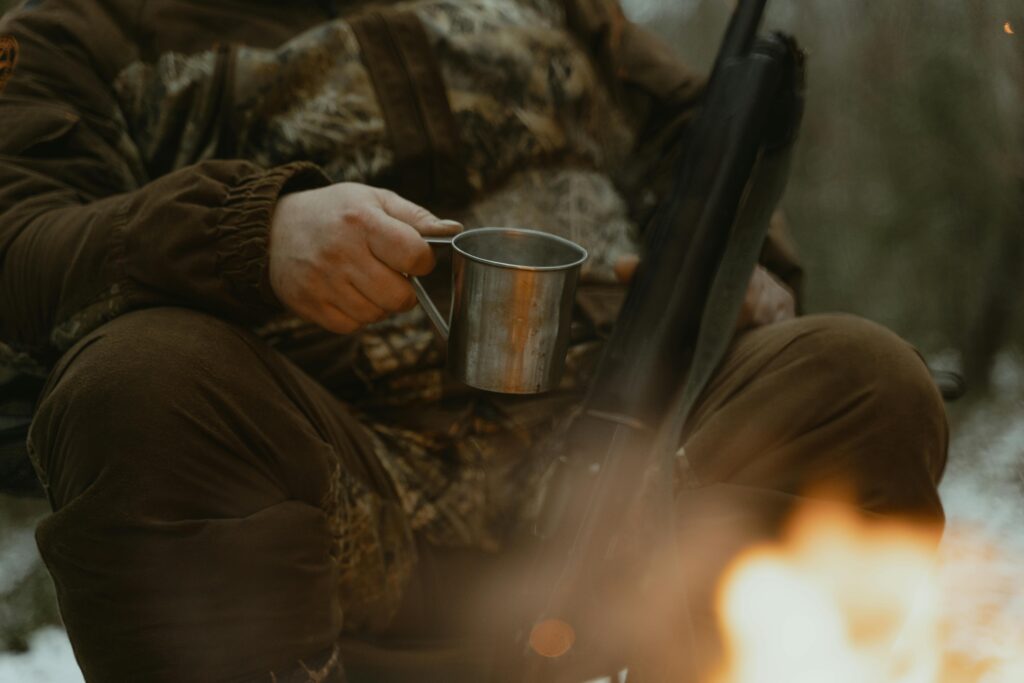
Step 5: Skills – The Cheapest Survival Investment
A prepper with skills will always outperform one with just gear. Free or low-cost learning resources include:
- YouTube tutorials (fire-starting, first aid, bushcraft)
- FEMA’s free online emergency courses
- Community workshops on gardening, canning, or hunting
Skills like fire-making, water purification, and first aid cost nothing to practice and can save lives.
Step 6: Build a Budget Bug-Out Bag
Instead of buying a $300 “pre-packed” bug-out bag, build your own for under $100:
- Old backpack → FREE
- Water bottles → already owned
- Snacks and canned food → $20–$40
- Flashlight + batteries → $10–$15
- First aid kit → $15–$20
- Extra clothes → already owned
This DIY approach saves hundreds while ensuring the bag fits your personal needs.
Step 7: Grow Into Prepping Gradually
Prepping should feel sustainable, not overwhelming. Start with the rule of threes:
- 3 days → emergency kit (food, water, light, first aid)
- 3 weeks → build pantry storage
- 3 months → long-term prepping goals (gardening, water collection, advanced tools)
By pacing yourself, you avoid panic buying and financial strain.
Final Thoughts: Prepping on a Budget Is Possible
The cheapest way to start prepping is by using what you already have, learning skills, and adding supplies gradually. You don’t need thousands of dollars or a bunker in the woods—just practical planning.
Remember: prepping is not about fear—it’s about peace of mind. Start small, be consistent, and your emergency readiness will grow over time without crushing your budget.
Summary: Prepping cheaply means starting with essentials, building affordable food and water storage, avoiding unnecessary gear, and focusing on skills. Anyone can start today for less than $100 and build from there.
ALSO READ:
Pingback: How to Avoid Expired Food and Wasted Money When Prepping
Pingback: Are bug-out bags actually useful or just a survival fantasy?